Out with the Old
So the Rancilio s26 finally gave up the ghost at the end of 2020 and failed the PAT test at work, I have ordered a new element which will hopefully fix the issue, but that’s another story... In with the new I have been interested to find out if the SAGE dual boiler is all it's cracked up to be - on paper seems like a neat machine, PID, Dual boiler, digital control, Pre-infusion etc - all the technical good stuff that every coffee geek wants. I plan to do an in depth review soon but these are my thoughts after using the machine for a few months; Pros
There are some things below that I would expect to see at this price point
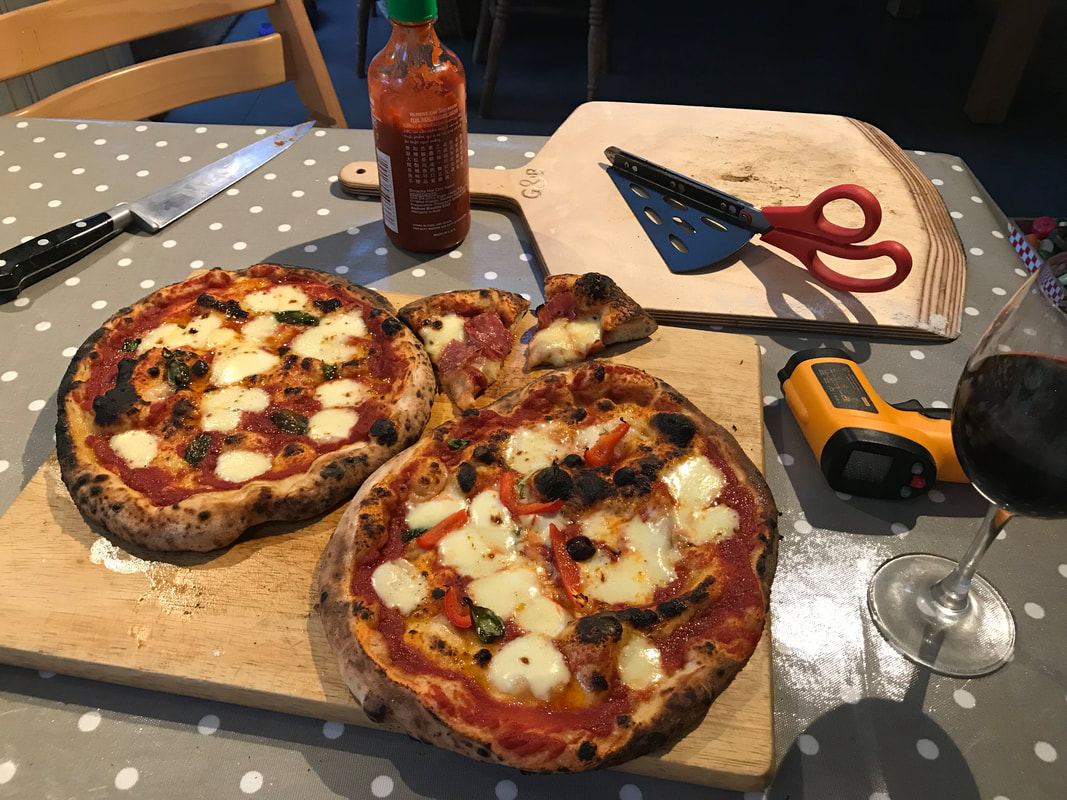
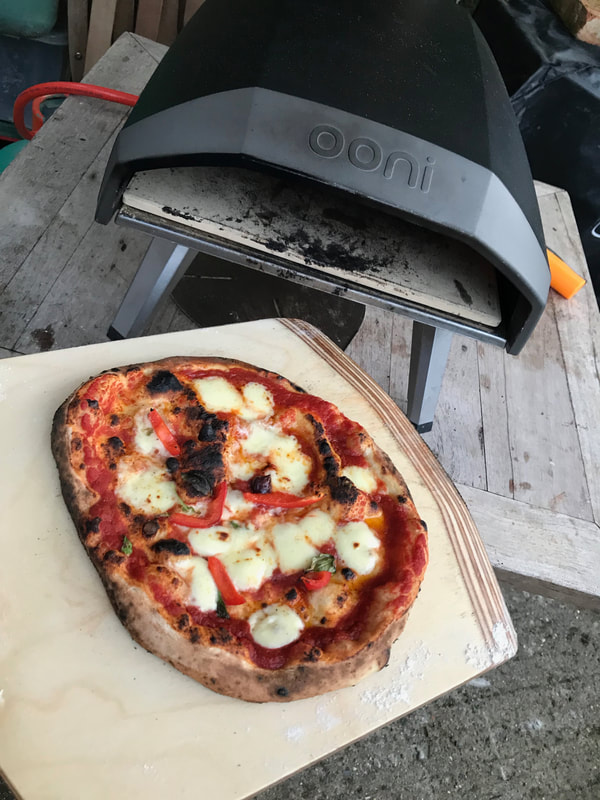
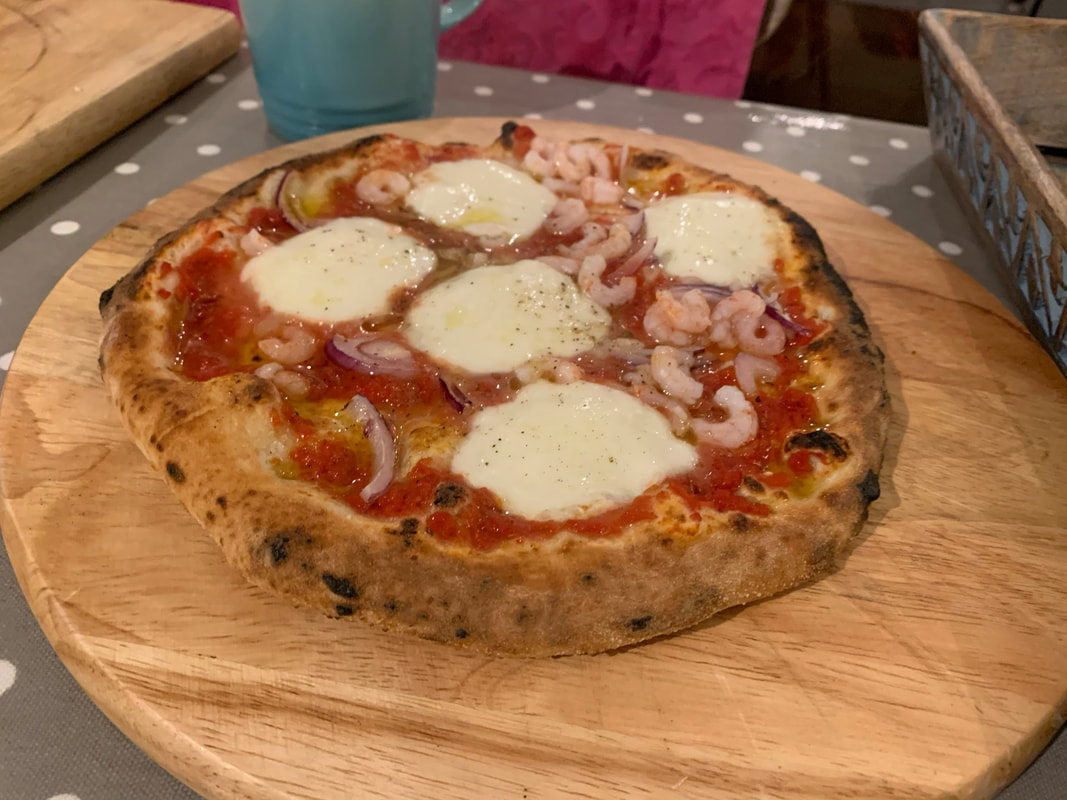
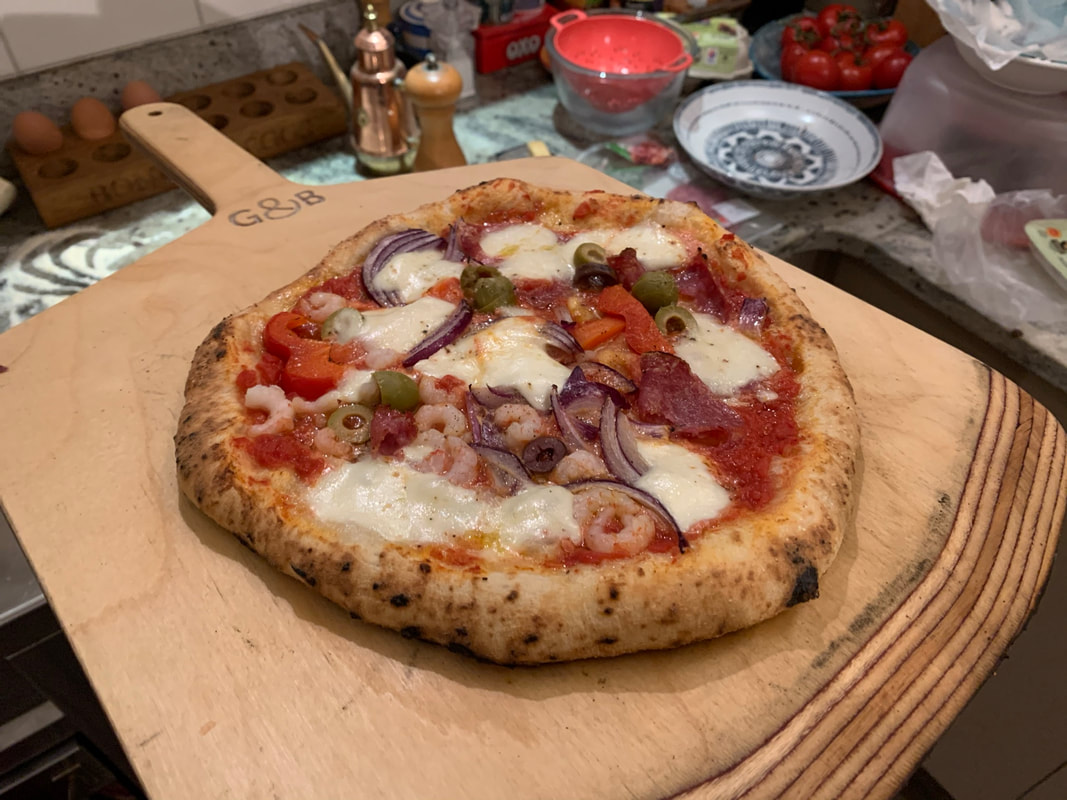
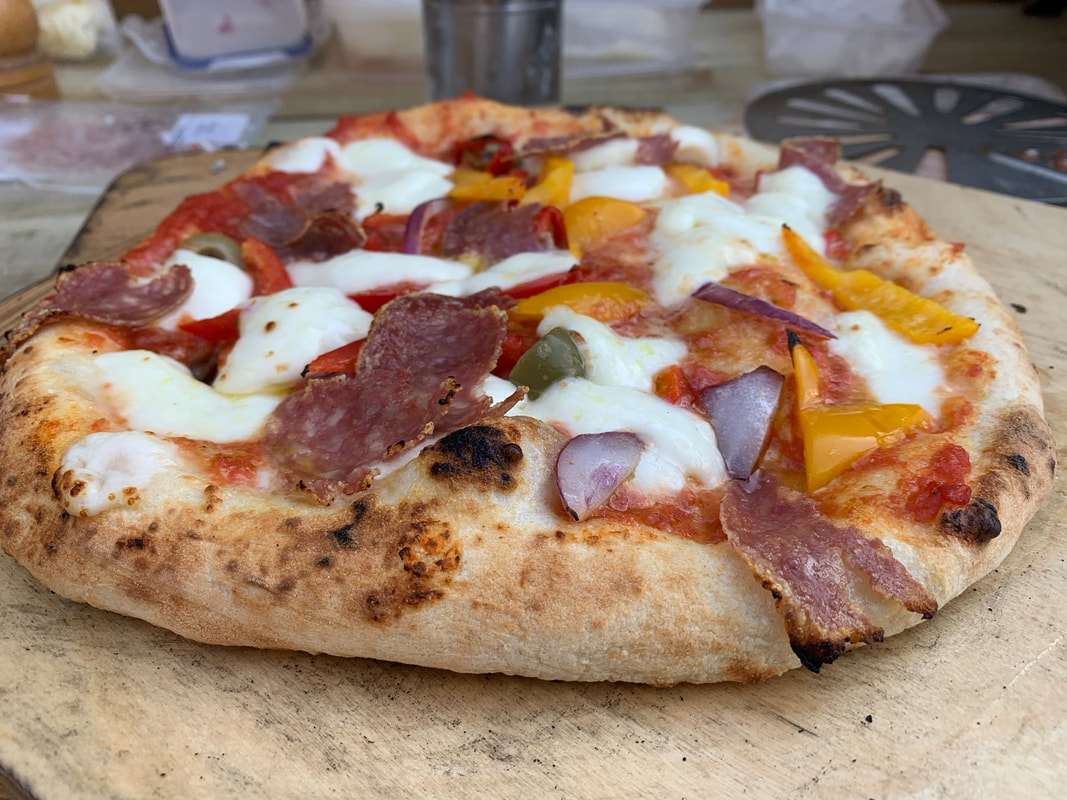
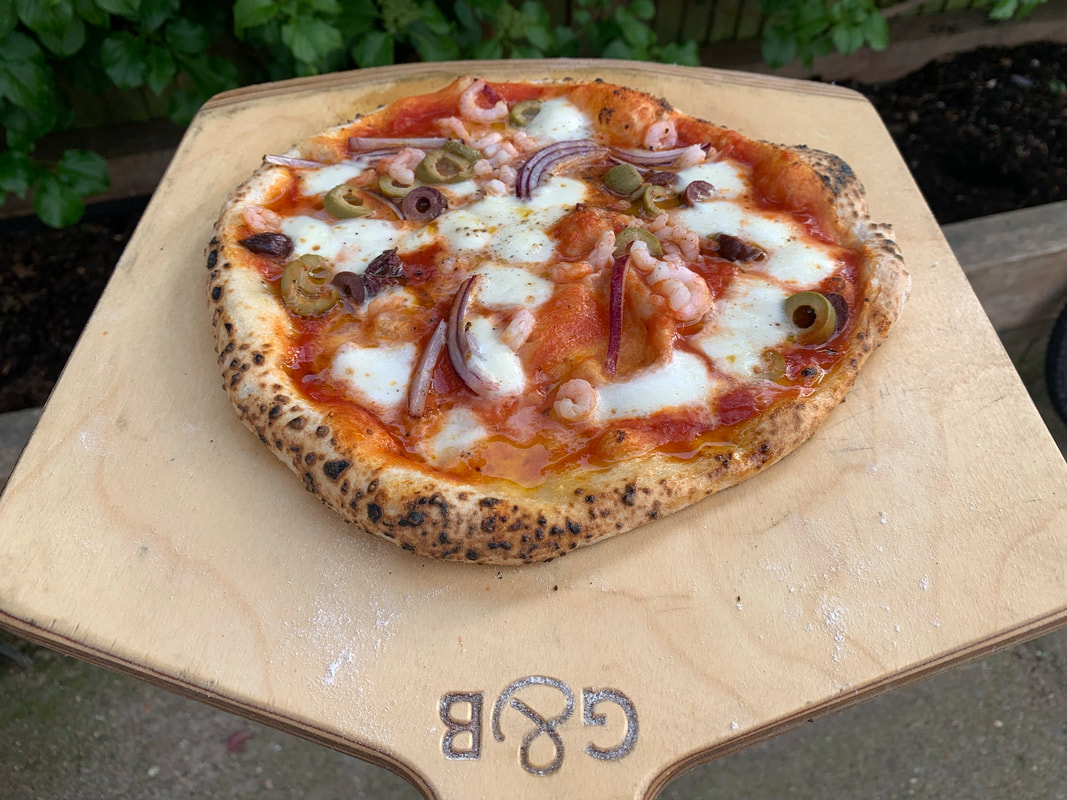
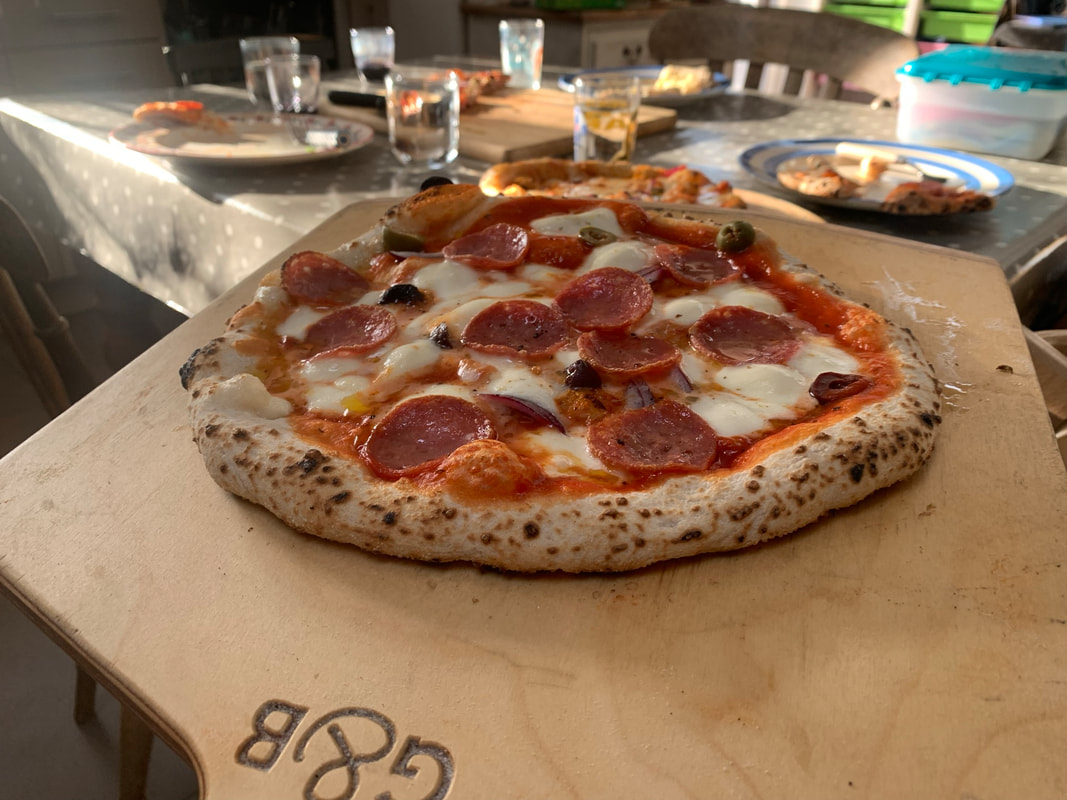
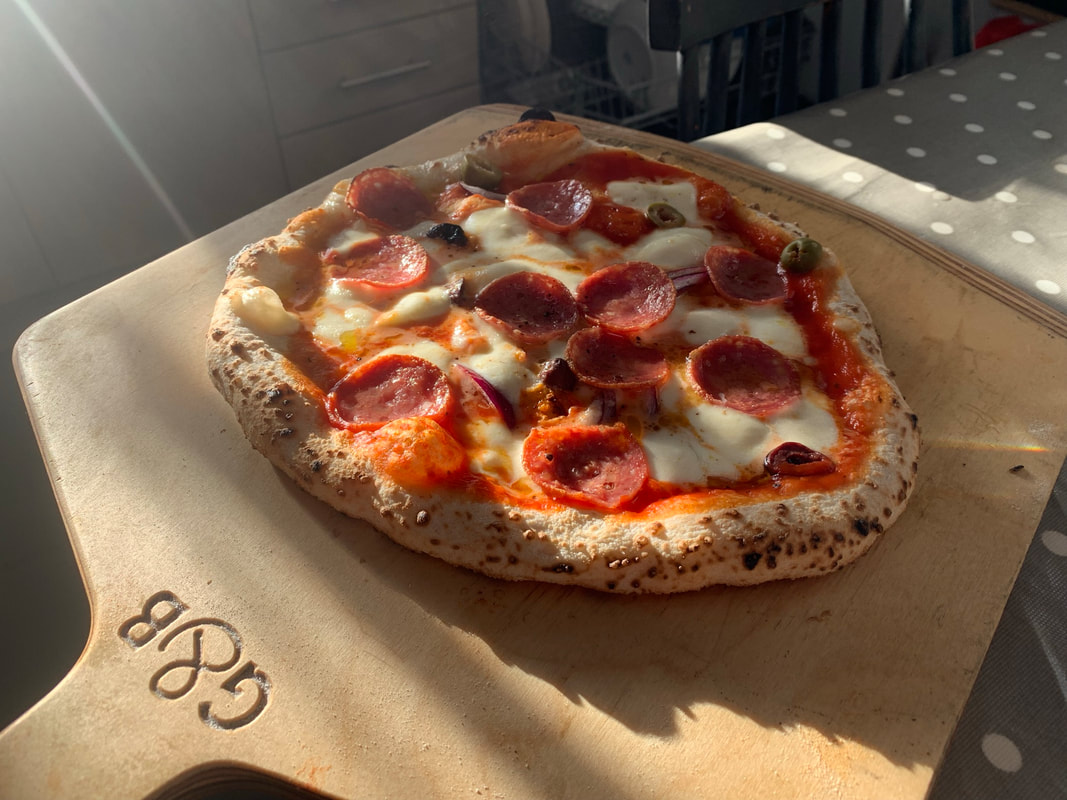
This is a great home machine, easy to use, compact foot print, easy to steam and buttons for all the main functions. For someone getting into prosumer coffee at home it’s a great bet. If you are a coffee enthusiast, you might find some of the cons outweigh the pros. Give me a Sage Dual boiler and I will be happy, be able to make a great espresso and flat white alike – would I be proud to have it in my kitchen? Probably not that’s what a shiny Rocket is for… OR ‘HOW DO I STOP MY PIZZA BURNING IN THE OONI KODA’Thought I would share my top 10 tips for using the OONI Koda, I was struggling to get an even bake and not burn the back of the pizza before the first turn. I spent an evening making lots of pizza to practice these are my findings; 1. Heat up the oven and lean something (metal) over the opening I’m not saying this is recommended, or safe, I’m just saying it can help to get the temperature up higher, with the front open it takes a while to reach 450 °C (842°F) and if its windy it can take even longer, I used an old aluminium peel and lent it up covering the opening, reflecting heat back in (Caution it gets hot!) This gave me a reading of over 500°C (932°F) in the centre so but the time I had removed the peel and launched it was around 475°C. (887°F) 2. Leave the temperature at full blast I was turning the temperature down after launch to try and stop the burning, the result was that the pizza was taking longer to cook at a lower temperature so ended up burning anyway. 3.Set a stopwatch running and turn it every 15-20 seconds learning how long I could leave your pizza before the first turn (before it burned!) helped me replicate it time after time, as you cant see the back you cant tell its burned until its too late. Launch, wait 15-20 seconds, and then keep turning every 15-20 seconds until it is done (between 60-80 seconds in my experience) 4. Don’t over flour the peel I was using semolina flour, but this was causing small fires behind the pizza as the excess flour burned off, use regular flour but keep it to a minimum. I find it best to flour the dough ball before you stretch and shake of the excess. 5. Use a wooden Peel for launch This tip came from Richer Taylor posting on Ooni Enthusiasts UK The flat aluminium peel that you can buy from Ooni seems to stick, I have made a Peel from Birch plywood, sanded and lightly oiled with Osmo top oil , once used the surface texture holds some of the flour so you can use less. A sloped front edge also helps the pizza slide off during launch. I have also used a perforated Roccbox peel and the wooden peel is my favorite tool for launch. 6. Make the pizza on the peel – Quickly… Ok, so the Pros make the pizza on the board and slide it onto the peel after – if you can do it then great, but most people fill find it hard to get it onto the peel without messing it up (me included). Get all of your ingredients lined up and top the pizza super quick once it is on the peel then launch it before it settles in and sticks. 7. Use a round turning peel This helps you turn the pizza, it can be used to deliver the pizza to the table too, just remember to leave it next to the oven so you don’t have to run and find it mid bake… 8.Use hot (warm) sauce I’m not talking Tabasco or Sriracha (however nice those are) I’m talking your base sauce, whether its homemade or from a jar have it warmed in a saucepan with a spoon or ladle ready then you can top it in no time and will help the pizza to cook in the middle. 9. Dry your Cheese If you are using balls of mozzarella which are in a little watery bag, then drain it, slice it and let it dry on some kitchen roll before you use it or it will make your pizza watery on top. 10. Practice without the pressure of hungry guests Make up enough dough ball for as many pizzas as you can, keep it simple tomato sauce, Mozzarella, Basil and olive oil and just make loads of pizzas, fine tuning as you go. Practicing with hungry guests around just ramps up the pressure. All those pizza can be frozen for an emergency meal (reheated they are still better than a supermarket frozen pizza, if not as good as a fresh one) Using these tips the pizzas where cooking in just over 1 minute and managing to reduce the burned crust.
Make loads, and loads of Pizza in your Ooni Koda until you get it right! (it still tastes good with some hot sauce on it even when a bit burned!)
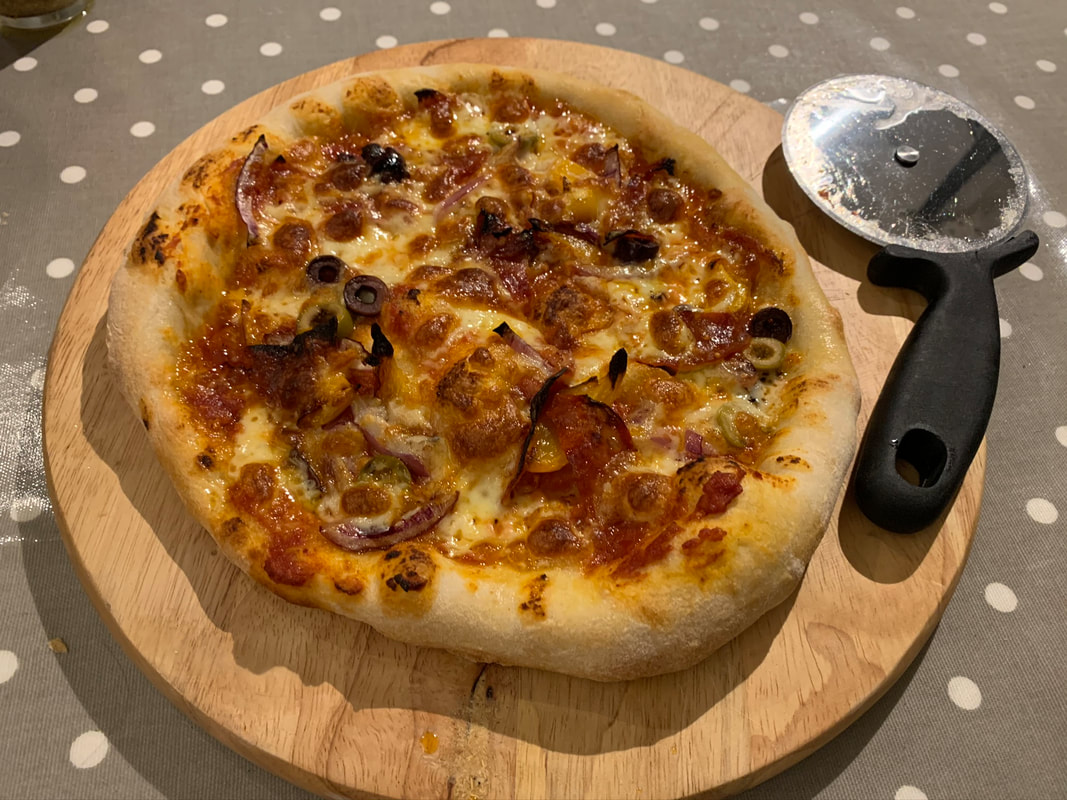
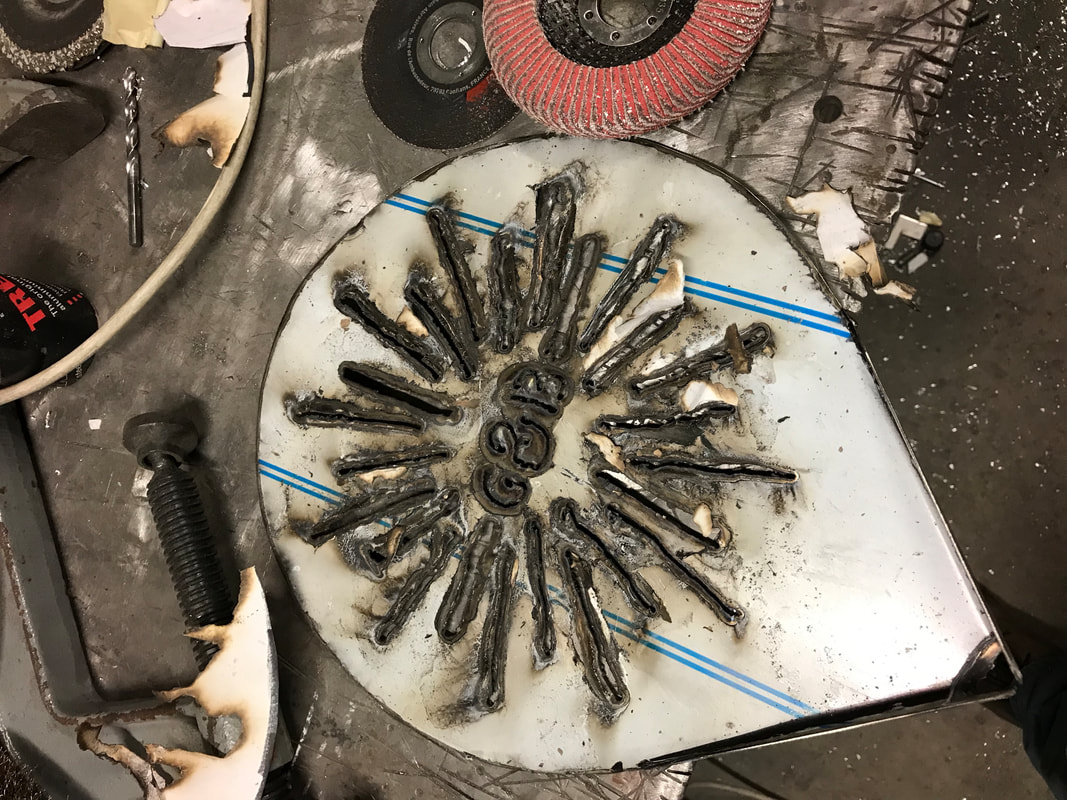
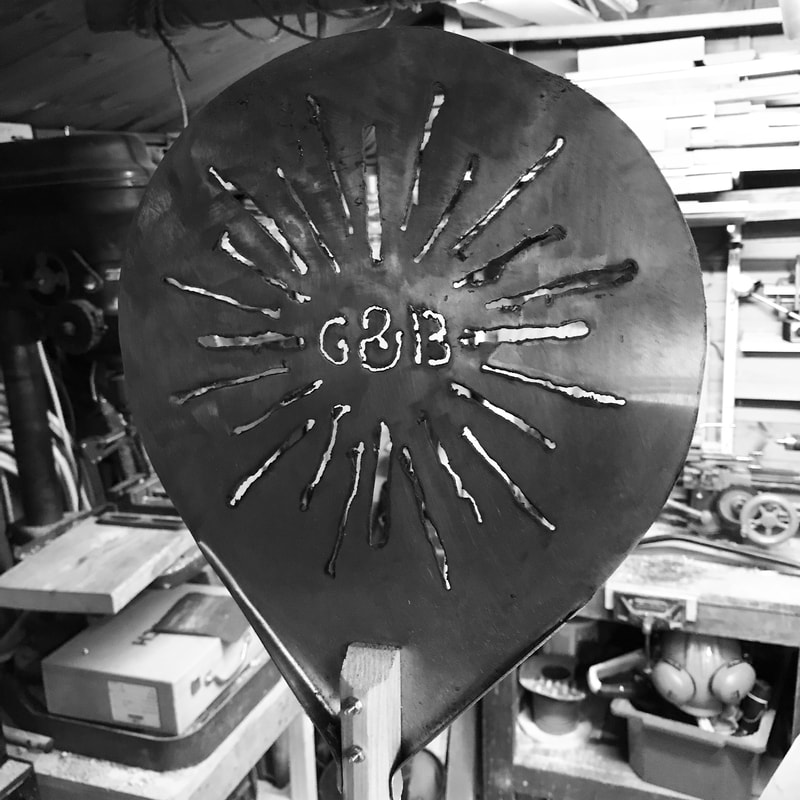
Now I have a new Pizza oven I will need to have all the gear to go wIth it. I have been struggling to turn the pizzas around with the standard peel so I am experimenting with making a small 'turning' Pizza Peel.
The new Ooni Koda Pizza oven has just been released and delivered to G&B HQ, I am used to using a home made wood fired Pizza oven - lets see how this is! I have included, unboxing, assembly, connecting the gas and making a pizza! p.s is NOT a paid review - I paid full retail price for this so it is totally independent and unbiased.
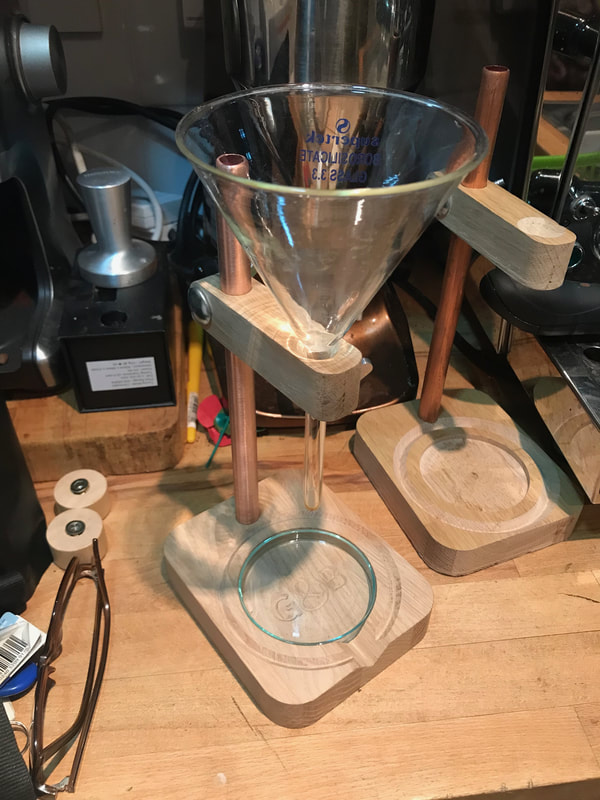
The Mk2 Coffee dripper includes a glass drip tray to catch all those after brew drips and a handy slot to lift it out for cleaning. Fancy one for yourself? Order one now Time has come for me to start developing my first product, This is by no means a revolutionary product, but something functional and pleasing to the eye. Key materials are Glass, Oak and Copper - I want to avoid any sort of Plastic.
I have been taking couple of weeks off milk, the supermarkets sell a wide array of 'dairy free' alternatives but I wanted something 'pure'. The problem with any milk substitute is that whilst they all look like milk, they are not milk! So your eyes see a milky coffee and expect the taste of milk so be open minded when tasting it... Almond Milk I started off with Almonds, soaking overnight, blending with water and straining. The result was a liquid that looked remarkably like cows milk, steamed really well but lacked the creaminess and sweetness to make a satisfying flat white or cappuccino. I then tried sweeting it slightly, I used a single sweet date blended with the milk which made it taste better, but still not quite there. Cashew Milk My brother suggested Cashew milk so I repeated the process (see video below) to make cashew milk. This was certainly more creamy and the date added the sweetness. This also steamed quite well, even better if you take a little extra time and strain through a cheesecloth or muslin as this takes out all the fine nut particles. Cost In the UK cashew nuts and almonds are around £10-12 per KG, so this works out at about £1.20-£150/pint home made. Storage I used a clean Glass milk bottle and sealed with foil, I kept in the fridge and still tasted the same after 5 days. Shake before use as the solids sink to the bottom of the bottle. Uses Steams well, my brother adds Guar gum to it to act as an emulsifier (stops it separating) an apparently this works well, although I haven't tried it.
Chris |
G&B Recipes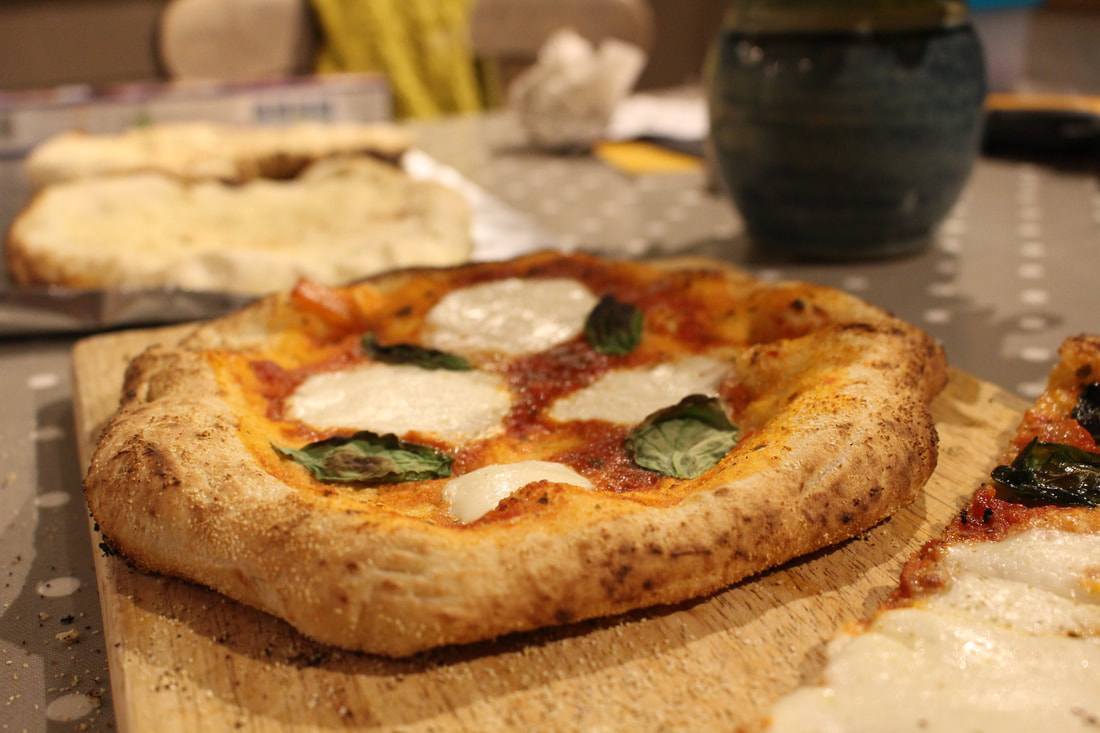
instagram @grind_brewChrisloves to grind&brew, talk about and drink coffee. Archives
April 2021
Categories |


 RSS Feed